

Manage Users
Organization admins can manage users and their roles from the Admin section of the Tenzo app.- Navigate to Admin > Organization & Users > Manage Users.
- View all users in your organization, along with their name, email, role, and status.
- Invite new users to Tenzo.
- Update user roles to control access levels.
- Allow specific users to sign in with email and password when the organization uses SSO.
- Deactivate or reactivate user accounts as needed.
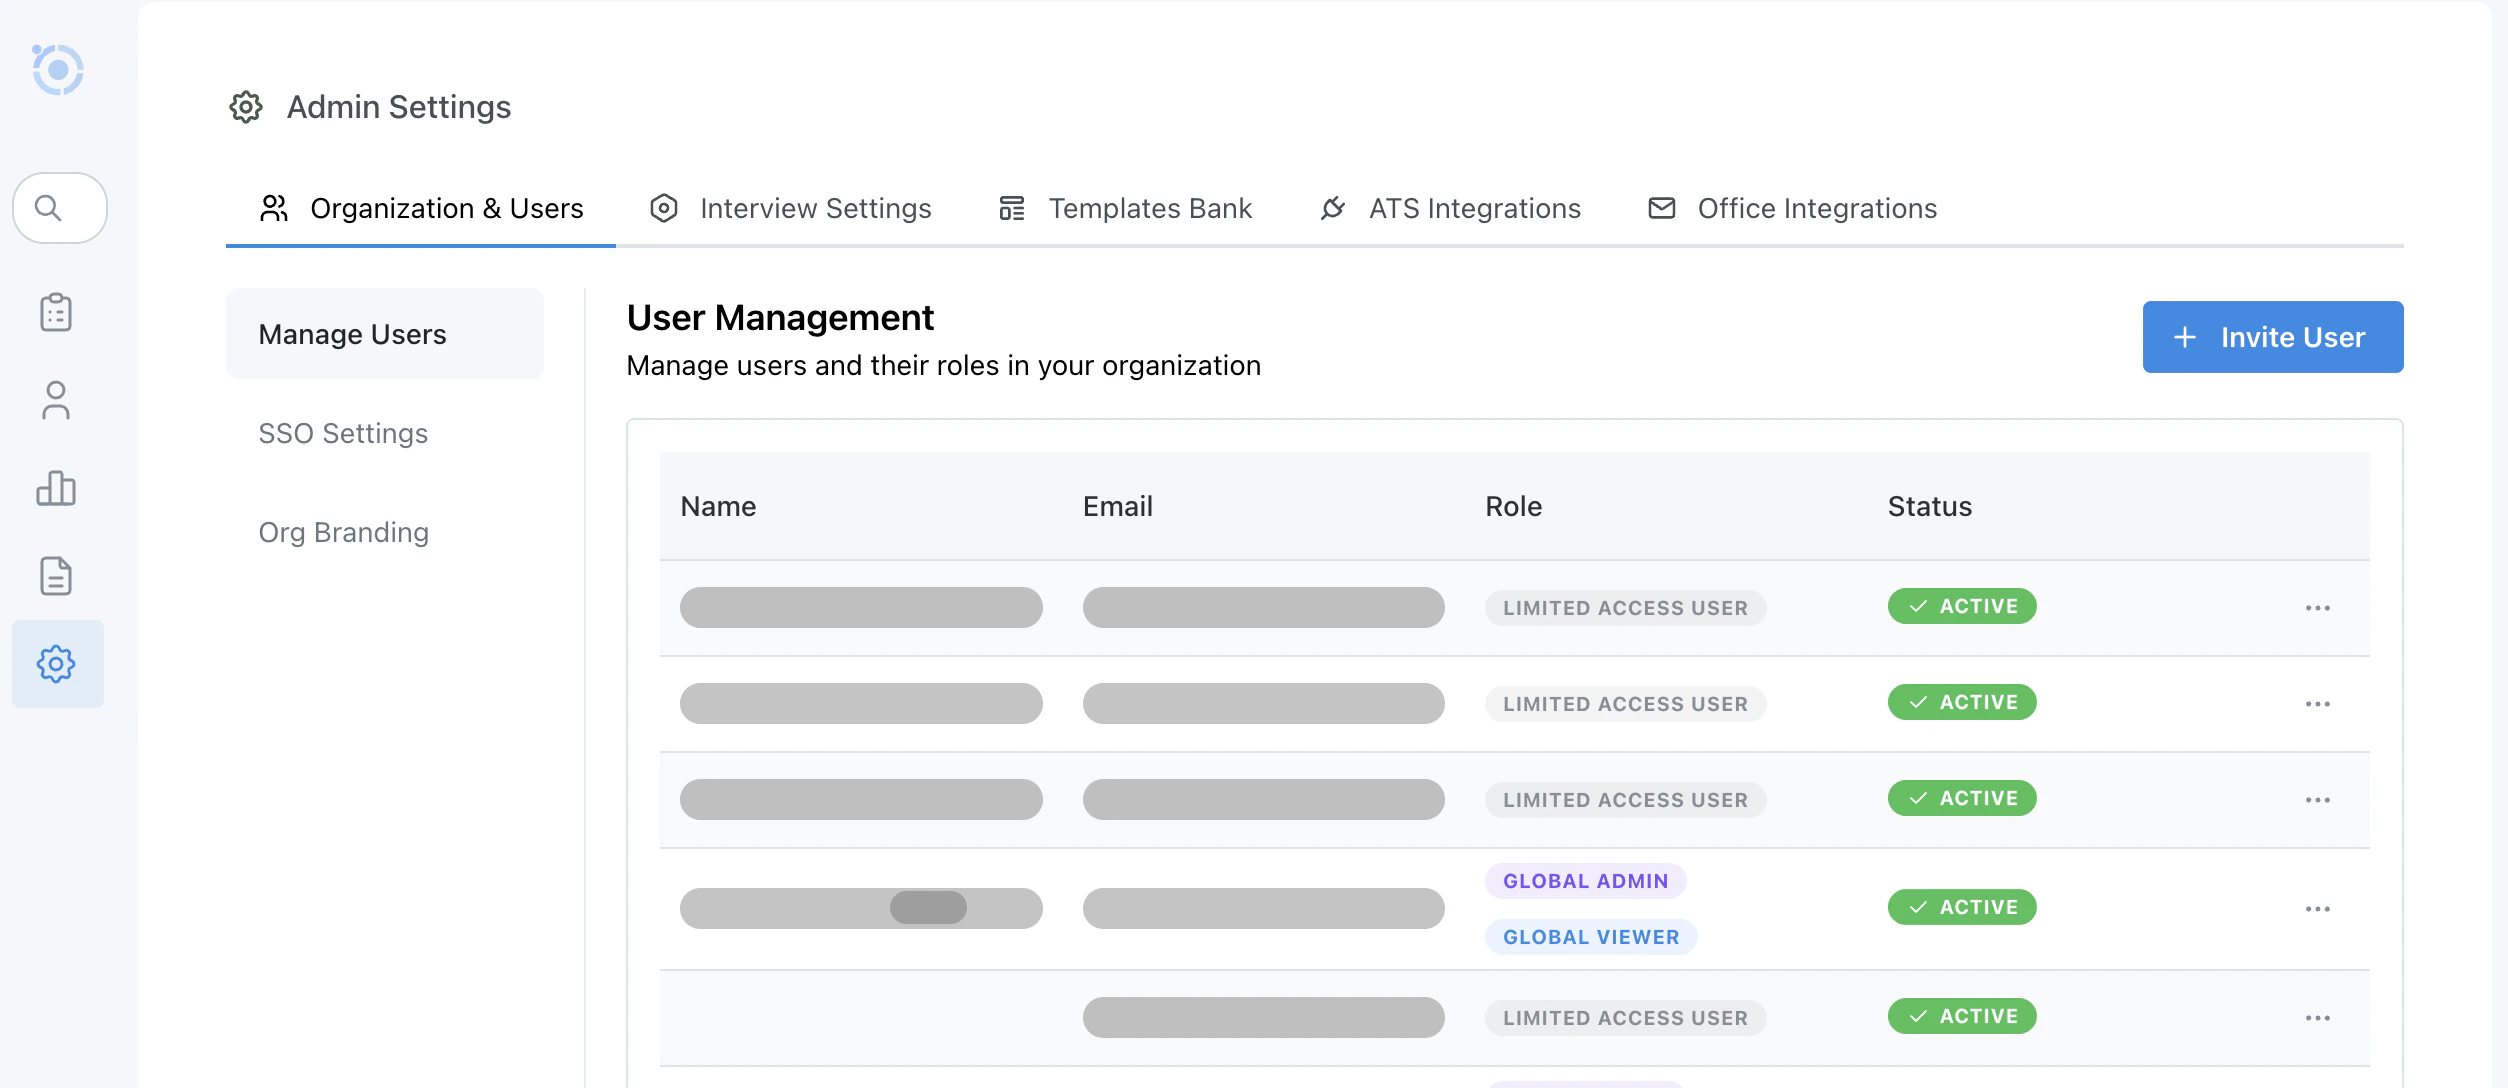
Admin > Organization & Users > Manage Users (PII Redacted)
User Roles and Access
Each user is assigned a role which controls what they can see and do in Tenzo. The main roles are:- Limited Access User: By default has no access to jobs, but can be added to specific jobs or folders with elevated permissions as needed.
- Global Viewer: Can view all jobs in the organization, including exporting candidates and using Chat Assistant, but cannot manage candidates, change configurations, or change settings.
- Global Editor: Can edit all jobs in the organization, including interview configurations and templates, and can manage candidates on every job.
- Global Admin: Has full access to org-wide settings, integrations, and user management. Only Global Admins can remove (delete) candidates from a job, and the Restart Workflow control is available to Global Admins only.
Access Levels Explained
Access to a job is made up of three levels, each one building on the last:- View — See the job, its configuration, and its candidates. On the job’s Candidates tab you can export a selection to CSV and use Chat Assistant. This is the baseline level included in every other access level.
- Manage Candidates — Everything in View, plus the ability to act on the job’s candidates:
- Add candidates
- Edit candidate info and AI summaries
- Use sourcing
- Give thumbs up / thumbs down feedback on calls
- Pause and resume candidates
- Approve or reject candidate-submitted interview re-issue requests
- Editor — Everything in Manage Candidates, plus the ability to edit the job (or folder) itself, such as its configuration, interview questions, and templates.
Inviting New Users
To invite a new user:- Go to Admin > Organization & Users > Manage Users.
- Click Invite User.
- Enter the user’s name and email, choose an appropriate role, and send the invitation.
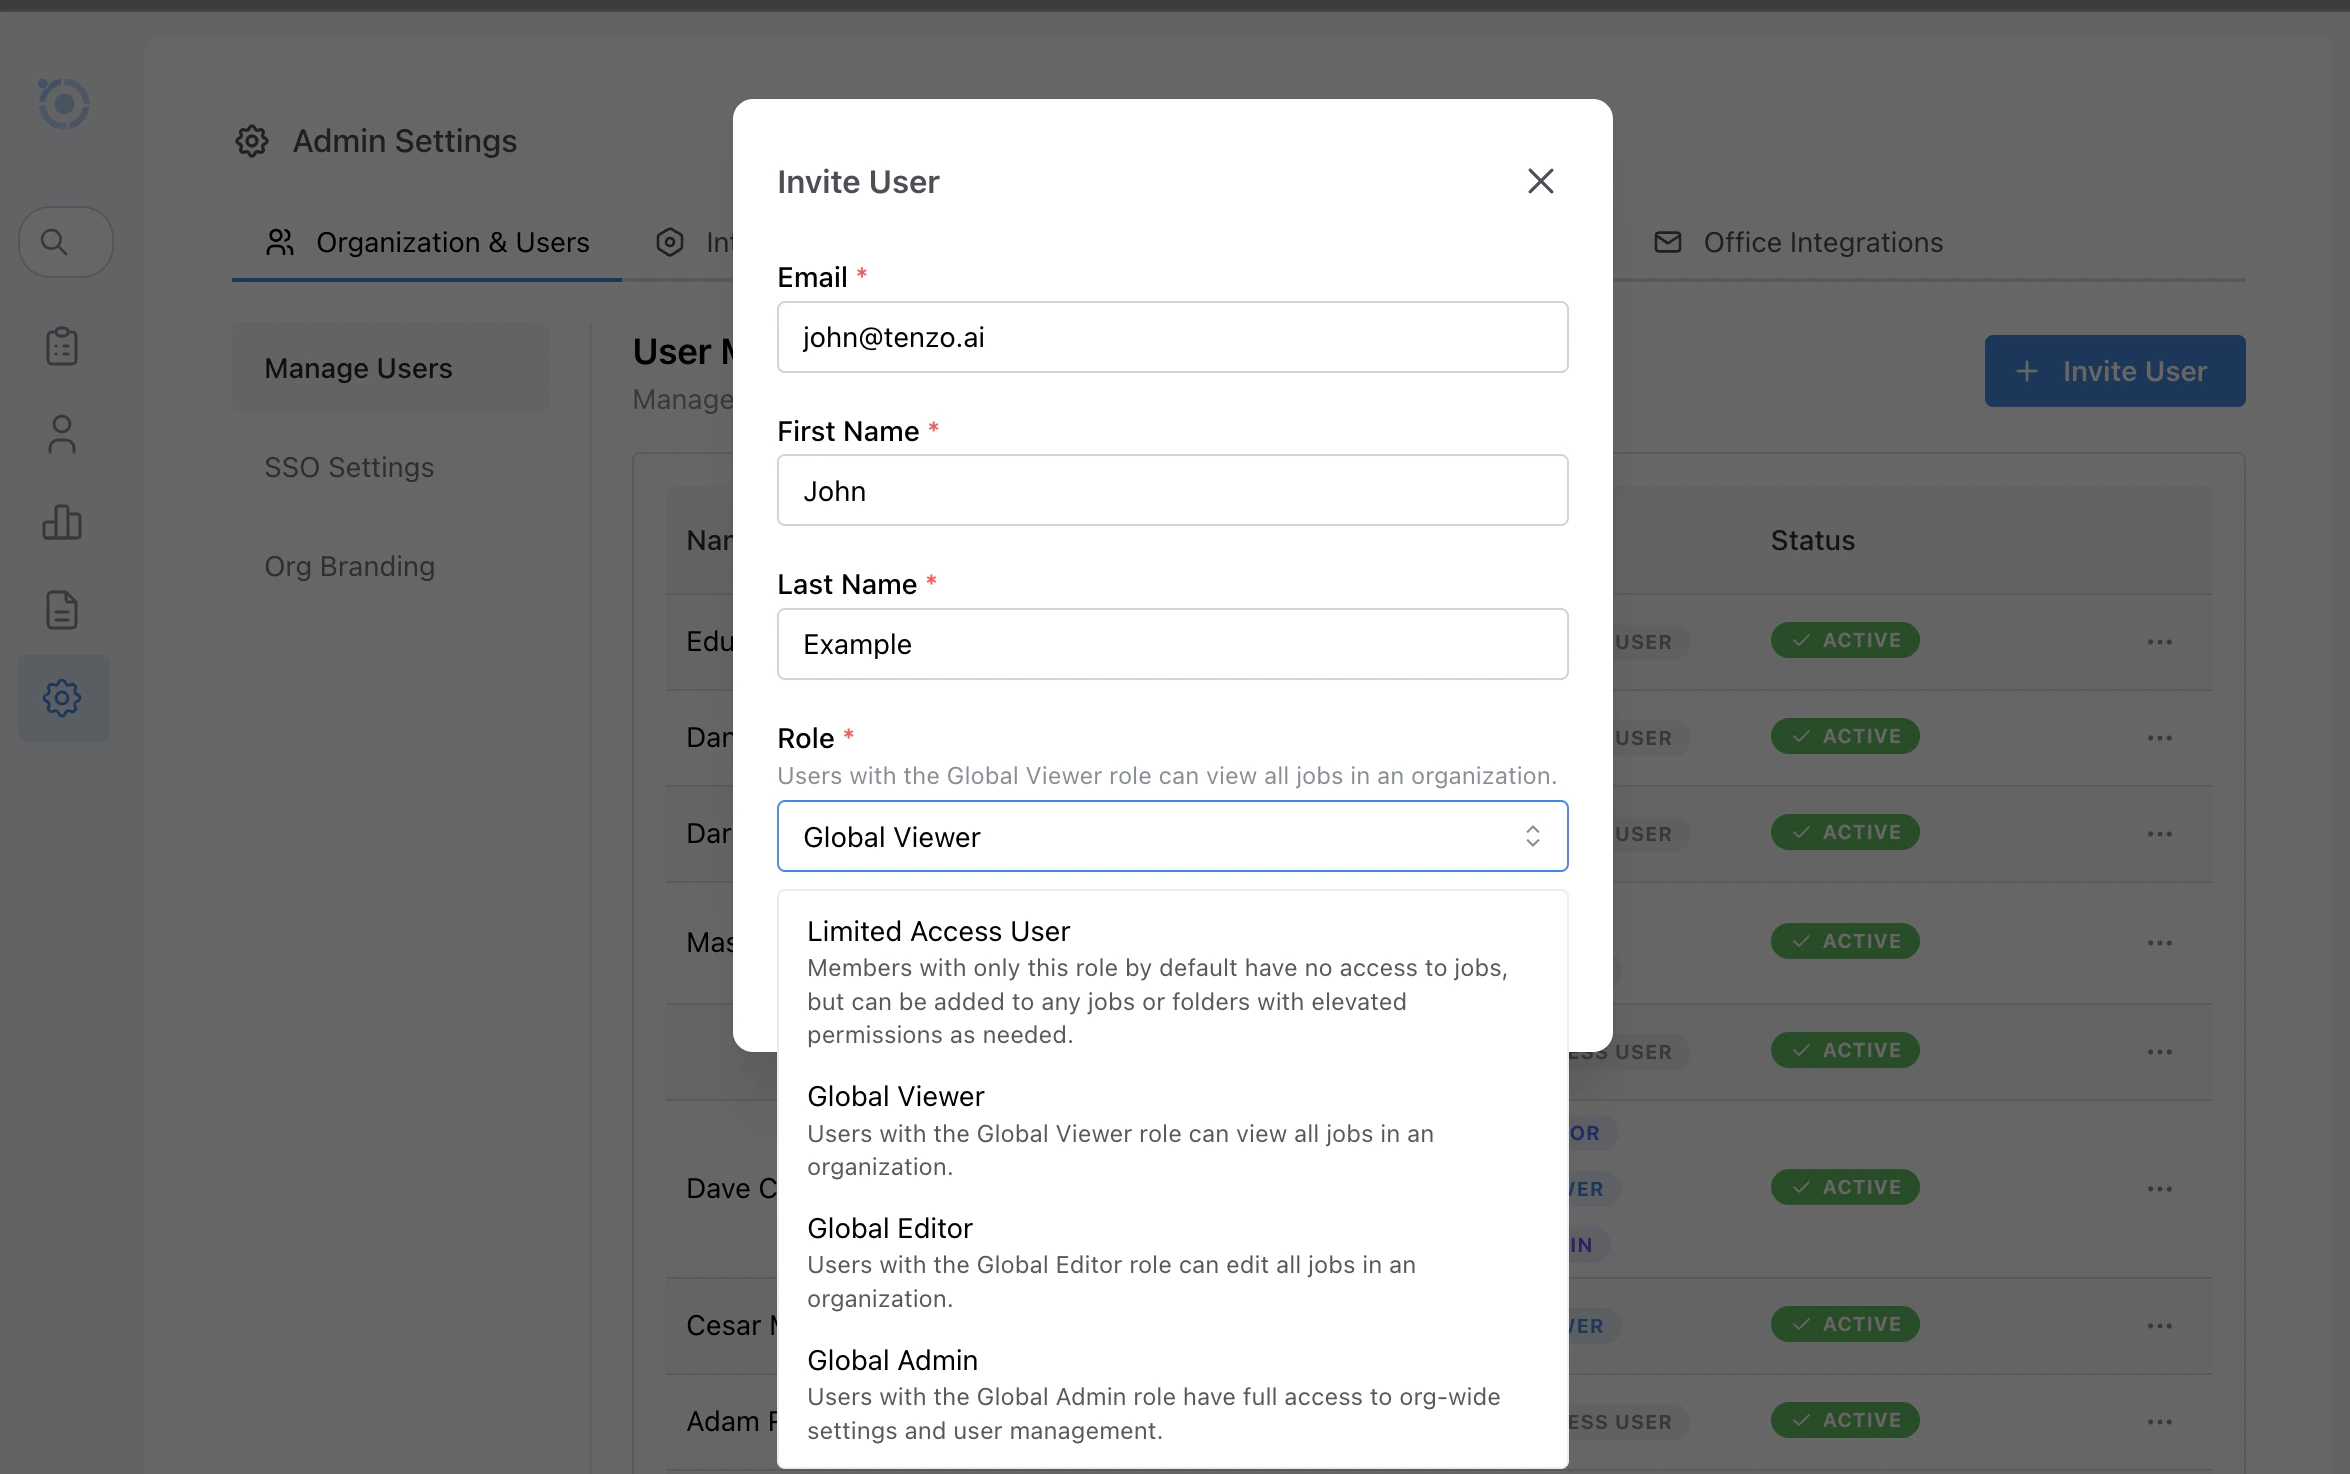
Admin > Organization & Users > Invite User
Allowing Email and Password Sign-In
If your organization uses SSO, everyone signs in through your identity provider by default. Use this exception for contractors, partners, or anyone who is not in that identity provider. To allow a user to sign in with email and password:- Go to Admin > Organization & Users > Manage Users.
- Open Edit User for that person.
- Turn on Allow email and password sign-in.
- Save the change.
Granting Access to Specific Jobs and Folders
Even if a user only has Limited Access or Viewer permissions at the organization level, you can grant them elevated access on a per-job or per-folder basis.- From the Jobs dashboard, open the action menu (
...) for a job or folder and choose Share. - Select the user and choose the appropriate permission level, then click Share:
- Viewer — View access only, as described above.
- Editor — View, edit, and Manage Candidates access, as described above.
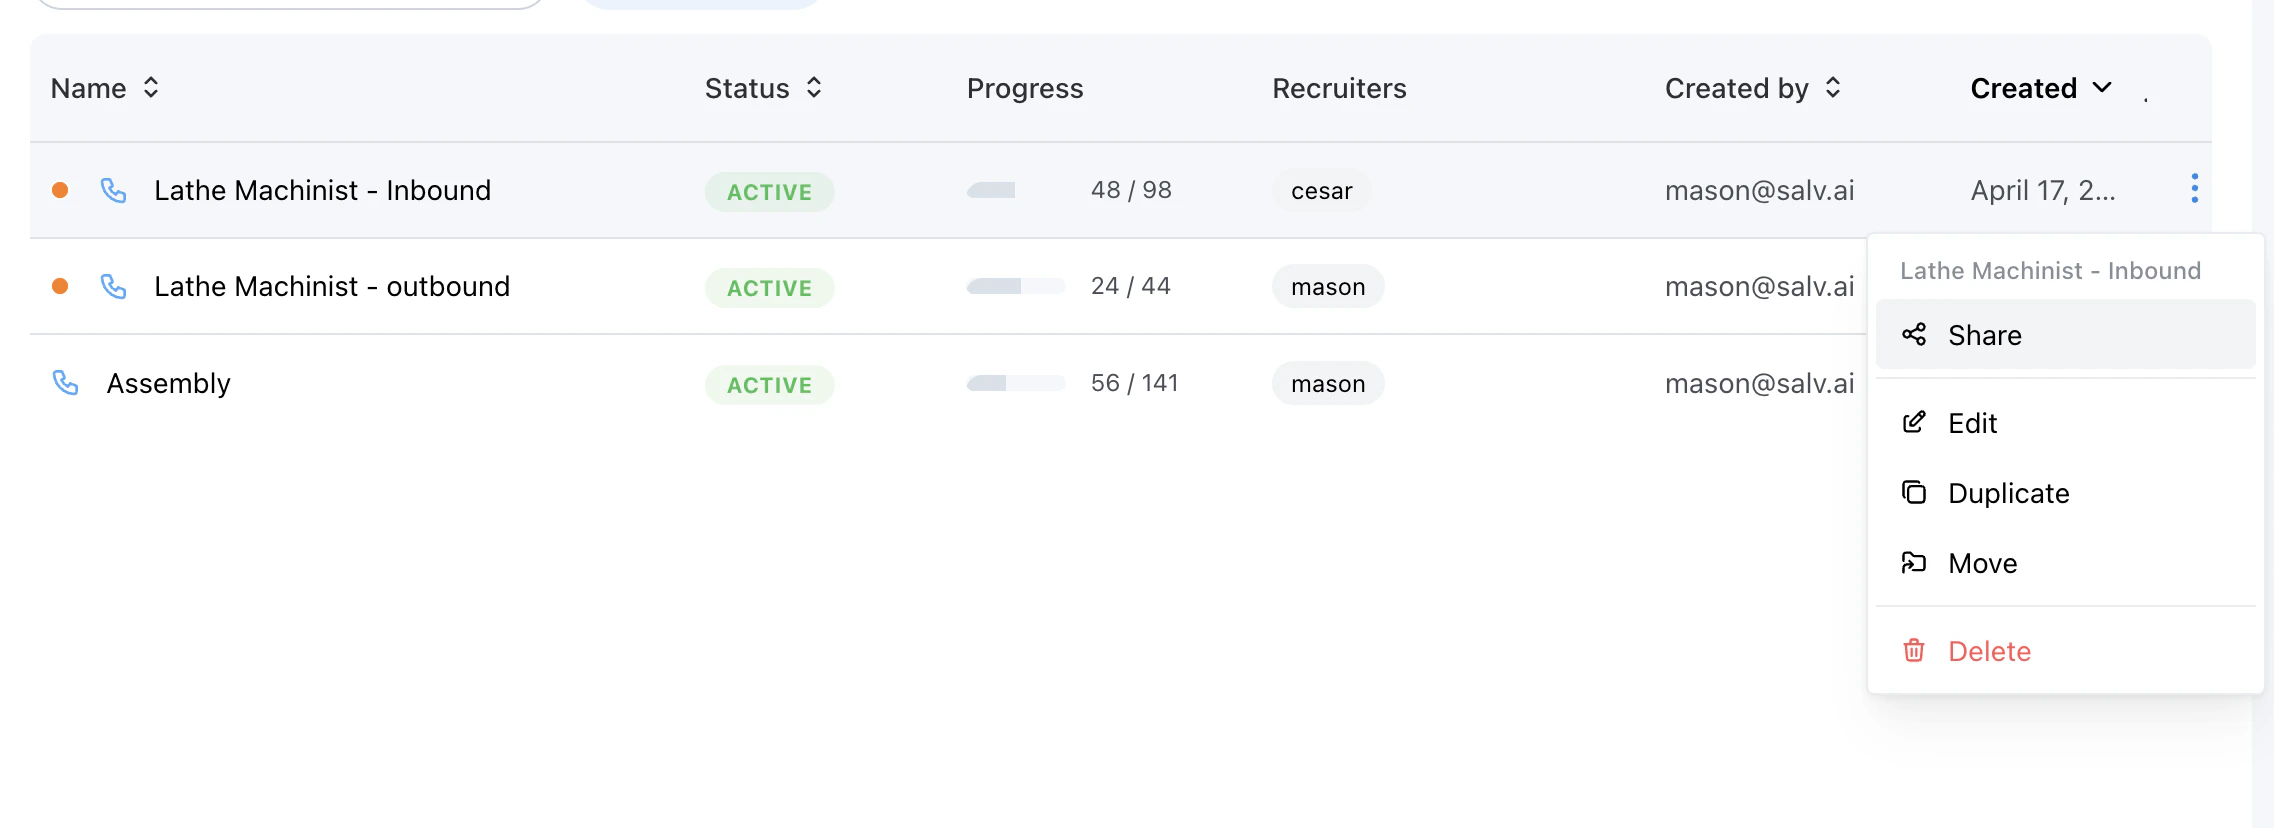
Jobs > Share job or folder
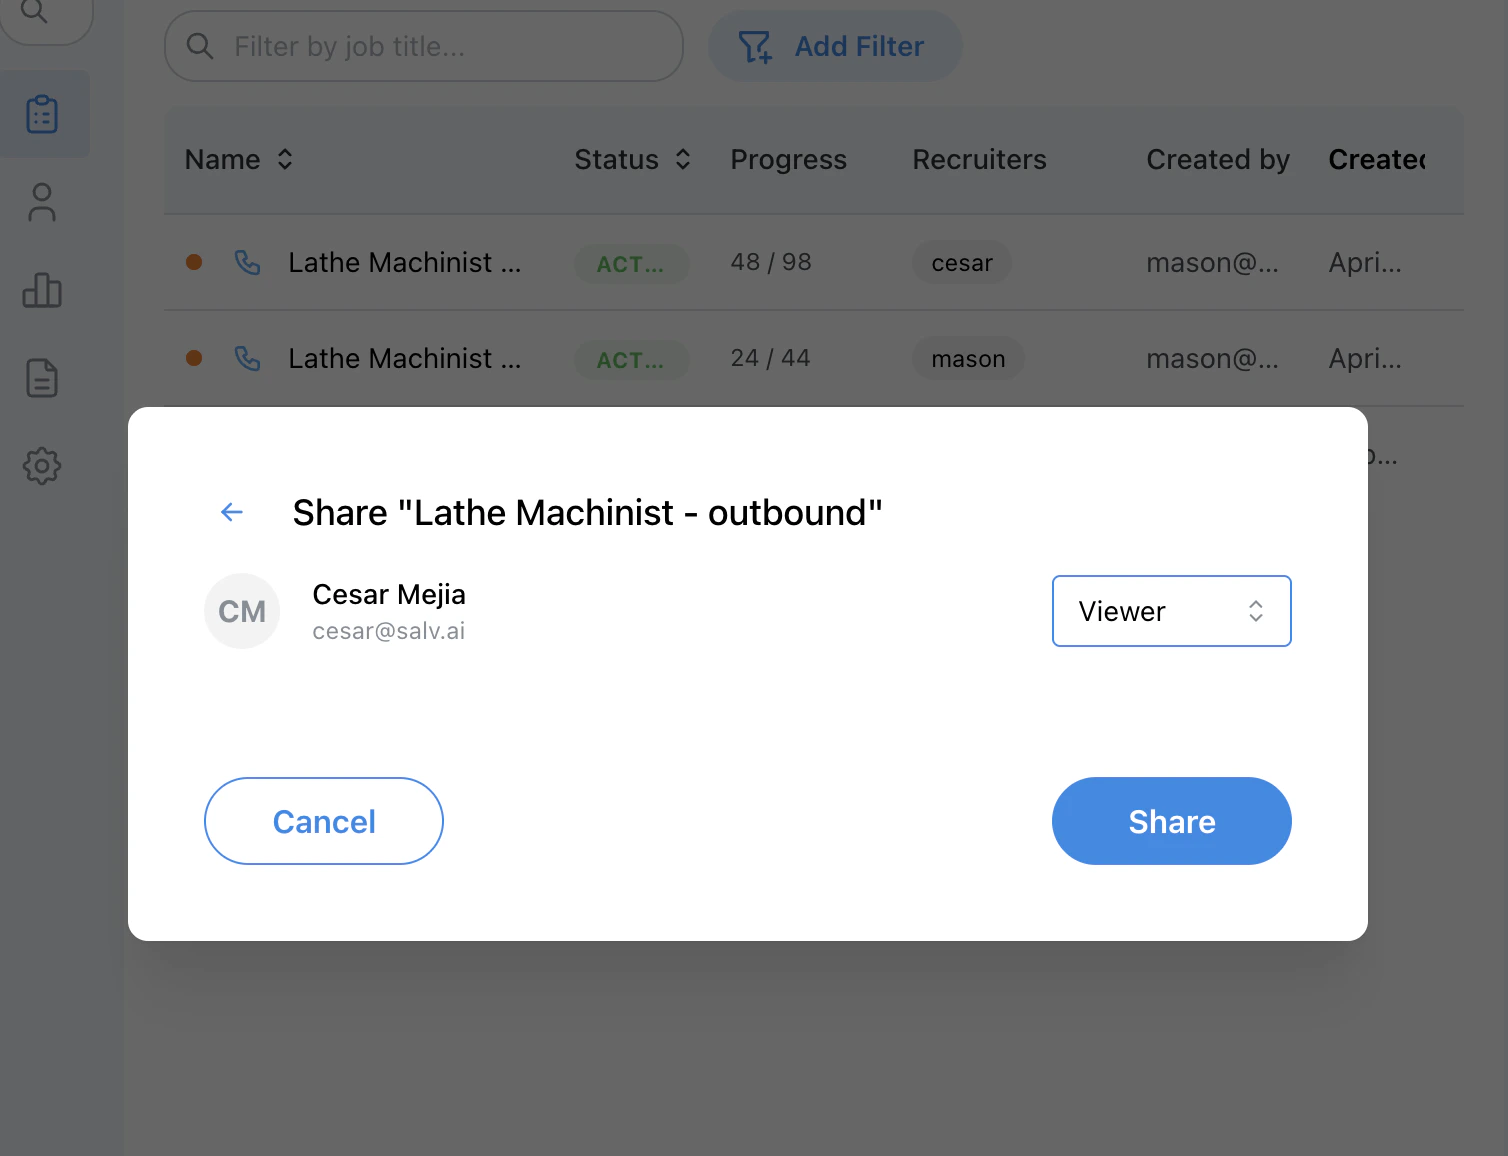
Jobs > Share job
Note: When you share a folder with a user, that user is granted access to all jobs and subfolders contained within that folder.