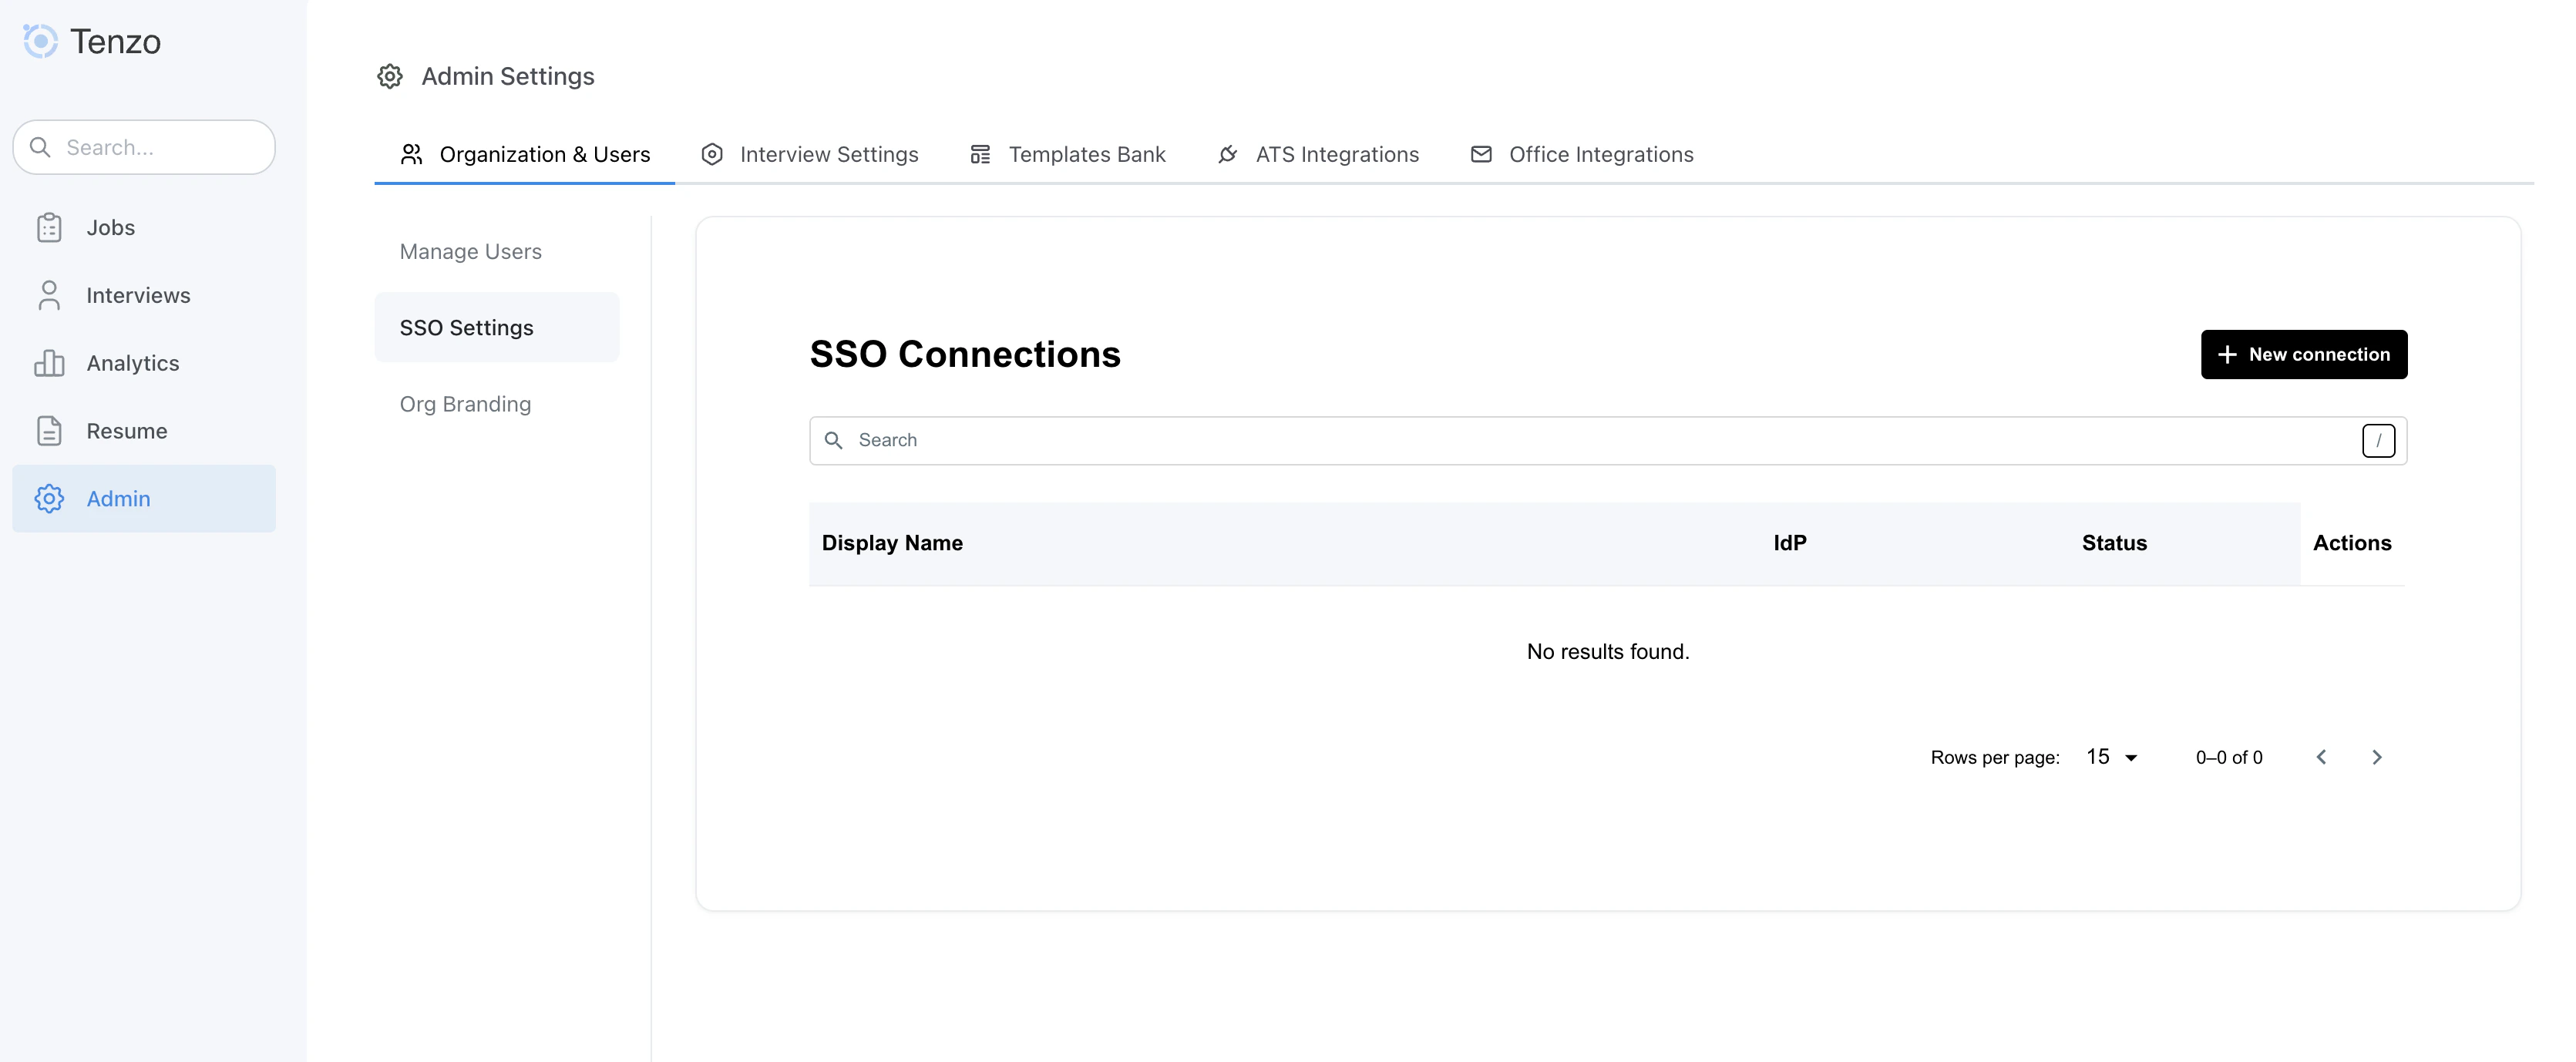
SSO Connections
Organization admins can configure Single Sign-On (SSO) from the Admin section of the Tenzo app.- Navigate to Admin > Organization & Users > SSO Settings.
Creating a New SSO Connection
To add a new SSO connection:- Go to Admin > Organization & Users > SSO Settings.
- Click New connection.
- Enter a Display Name that will help admins recognize the connection (for example, “Okta - Production”).
- Follow the guided setup flow on the SSO configuration page. The UI will walk you through copying any values needed into your identity provider and pasting the provider details back into Tenzo.
- Save the connection once the setup flow indicates that configuration is complete.
Testing and Enabling SSO
After creating a connection, use a test account from your identity provider to sign in via the SSO option on the Tenzo login page and confirm that you can successfully access your workspace. Once verified, users in your organization will see a Log in with SSO option in the sign-in flow and can use their IdP credentials to access Tenzo.Managing Existing Connections
From the SSO Settings page you can:- Search for a specific SSO connection by display name.
- View the associated IdP and status.
- Use the actions menu to update or disable a connection when needed.