Creating an Interview
Follow these steps to create your first AI-powered interview in Tenzo. For some customers, all jobs will be automatically be created and synced from the ATS. See the Rules Engine documentation for defining rules for which jobs are linked to your organization and setting automating configuration for the linked interviews. However, creating a job fully from the user interface can be a useful starting point for creating a template for other jobs or experimenting with the generation flow.1. Create a New Job
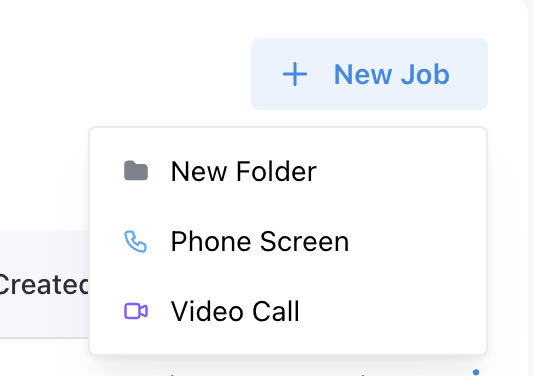
- From the jobs dashboard, click New Job.
- Choose whether you want to run a Web Interview or a Phone Interview for this role.
2. Add the Job Description
For the best results, upload the entire job description about the role, as the requirements in the job description will be used to generate an initial set of screening questions and grading instructions.- Either paste or type a complete job description, or
- Upload an existing job description file (if available).
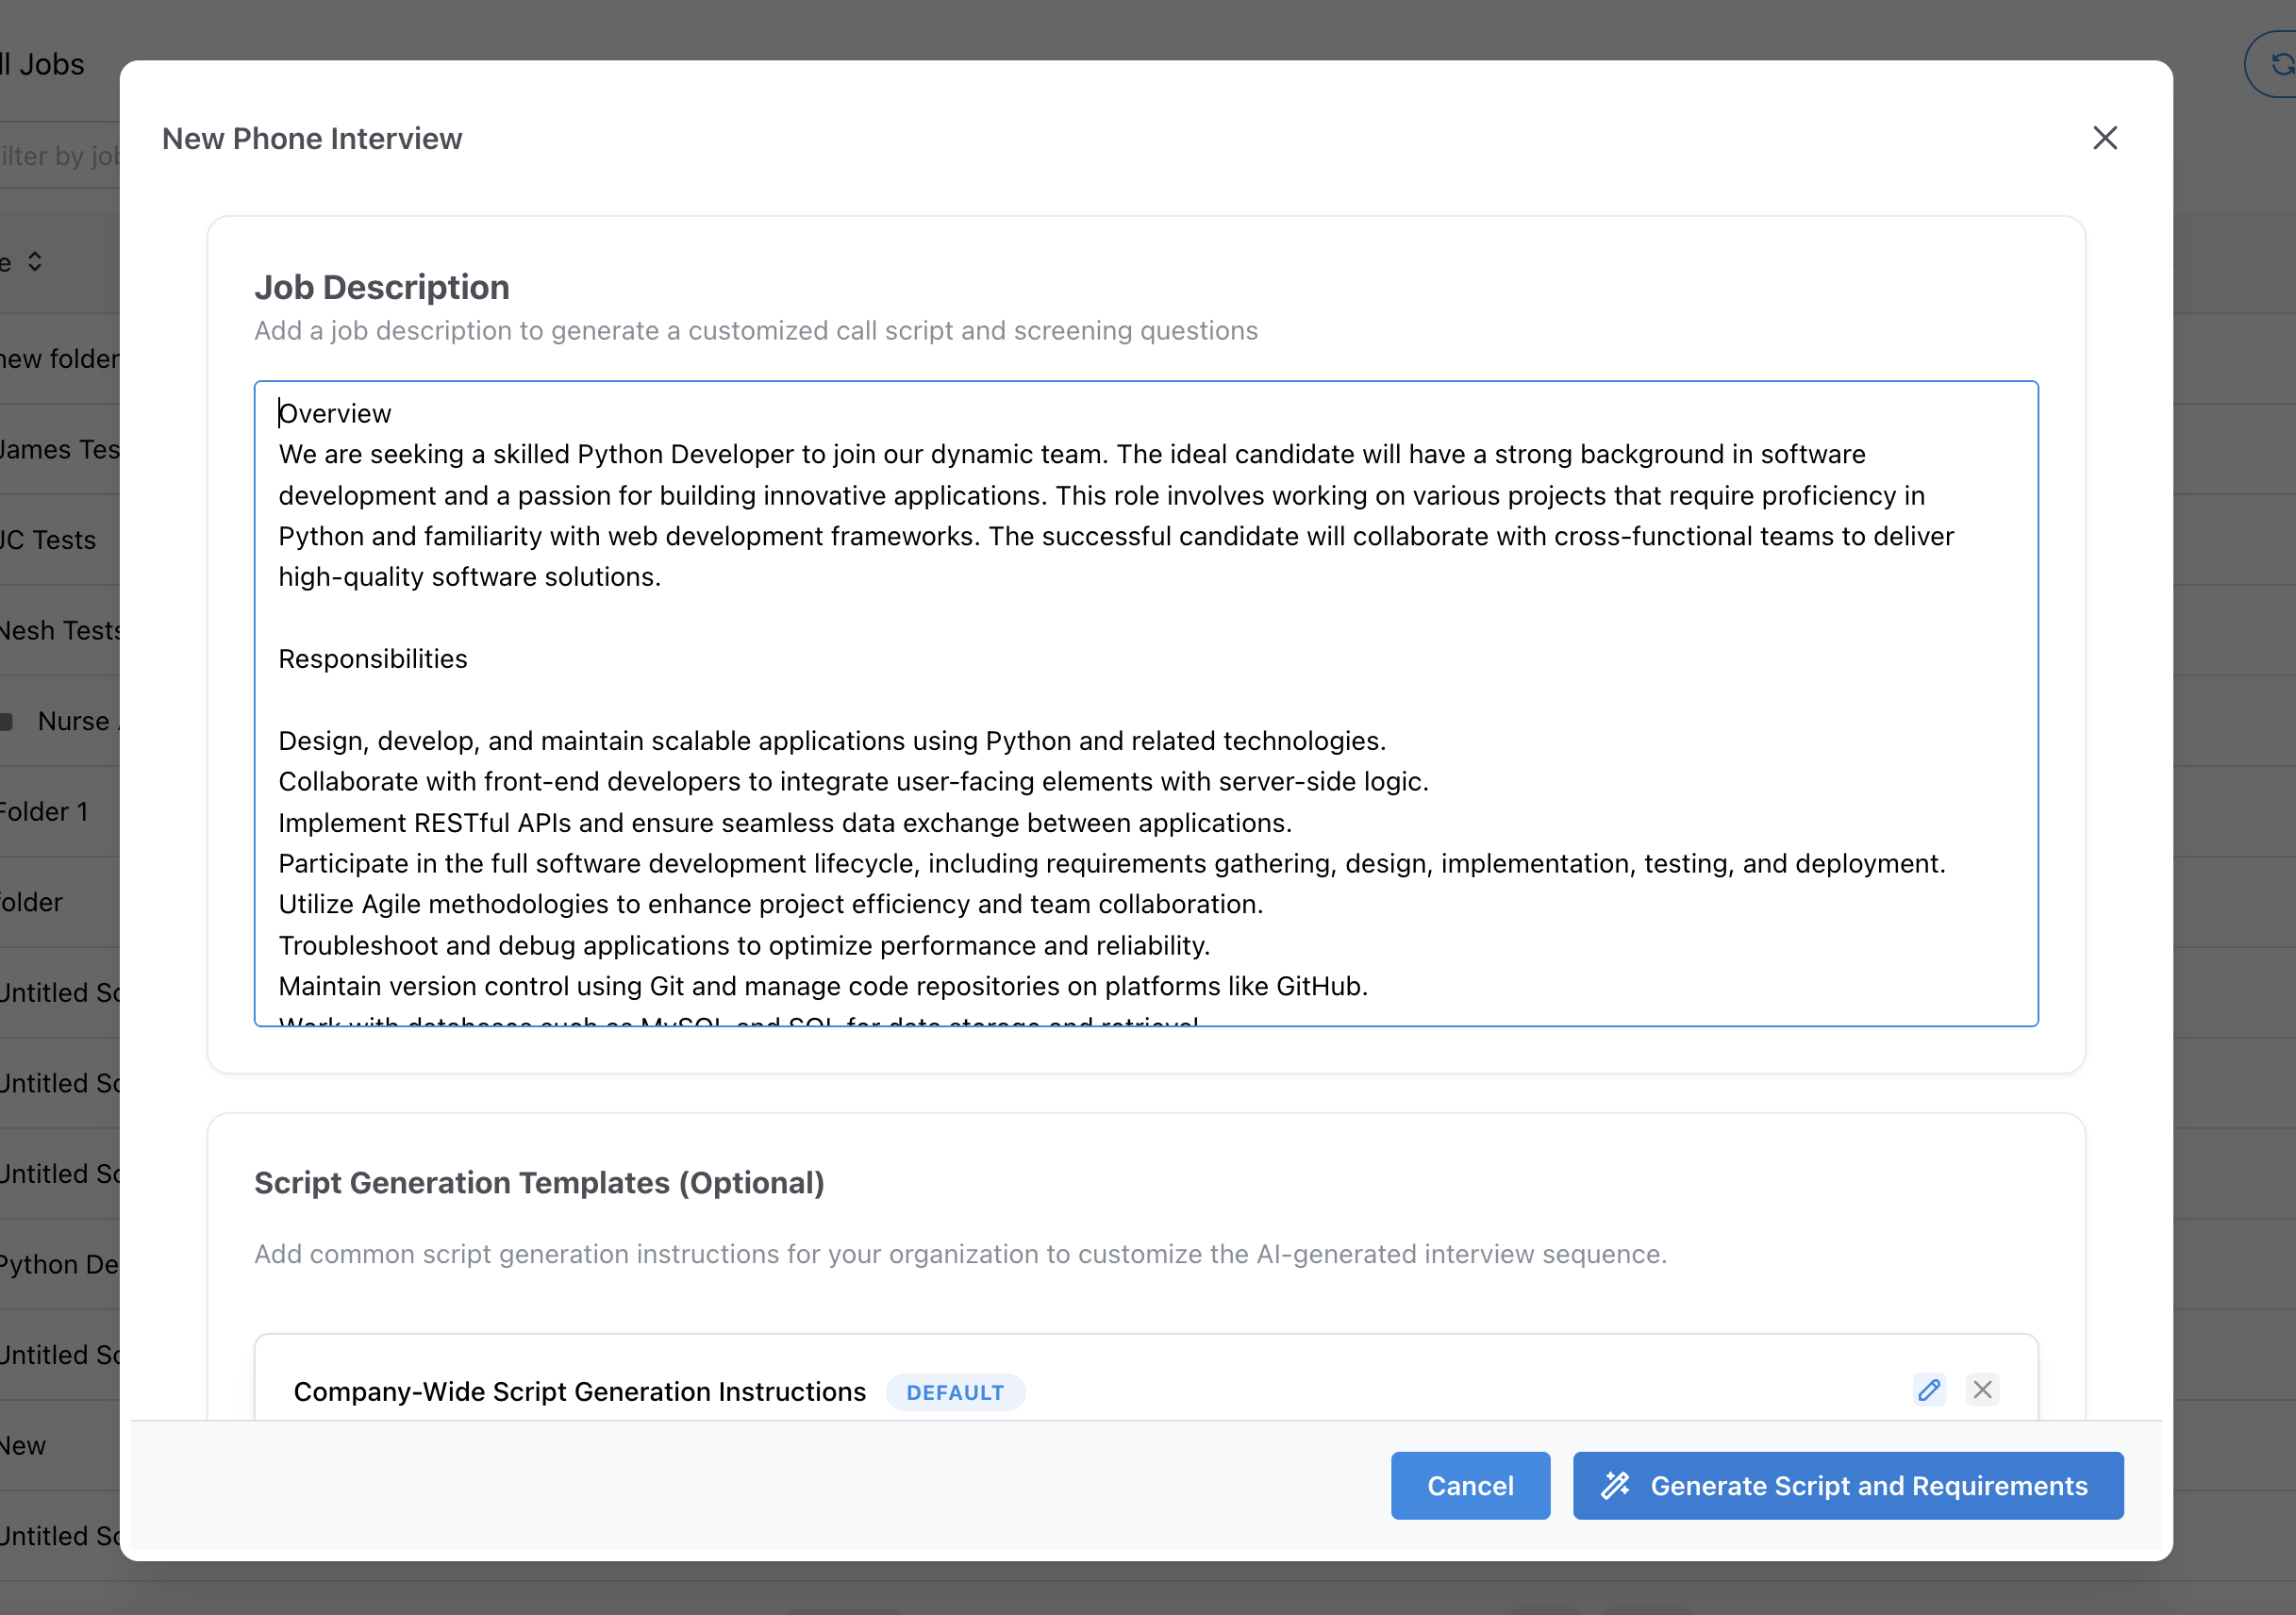
3. (Optional) Provide Additional Generation Instructions
Before generating the interview, you can optionally add Generation Instructions to guide the AI on how to structure the interview:- Specific topics or competencies to emphasize
- Any must-ask or must-avoid question themes
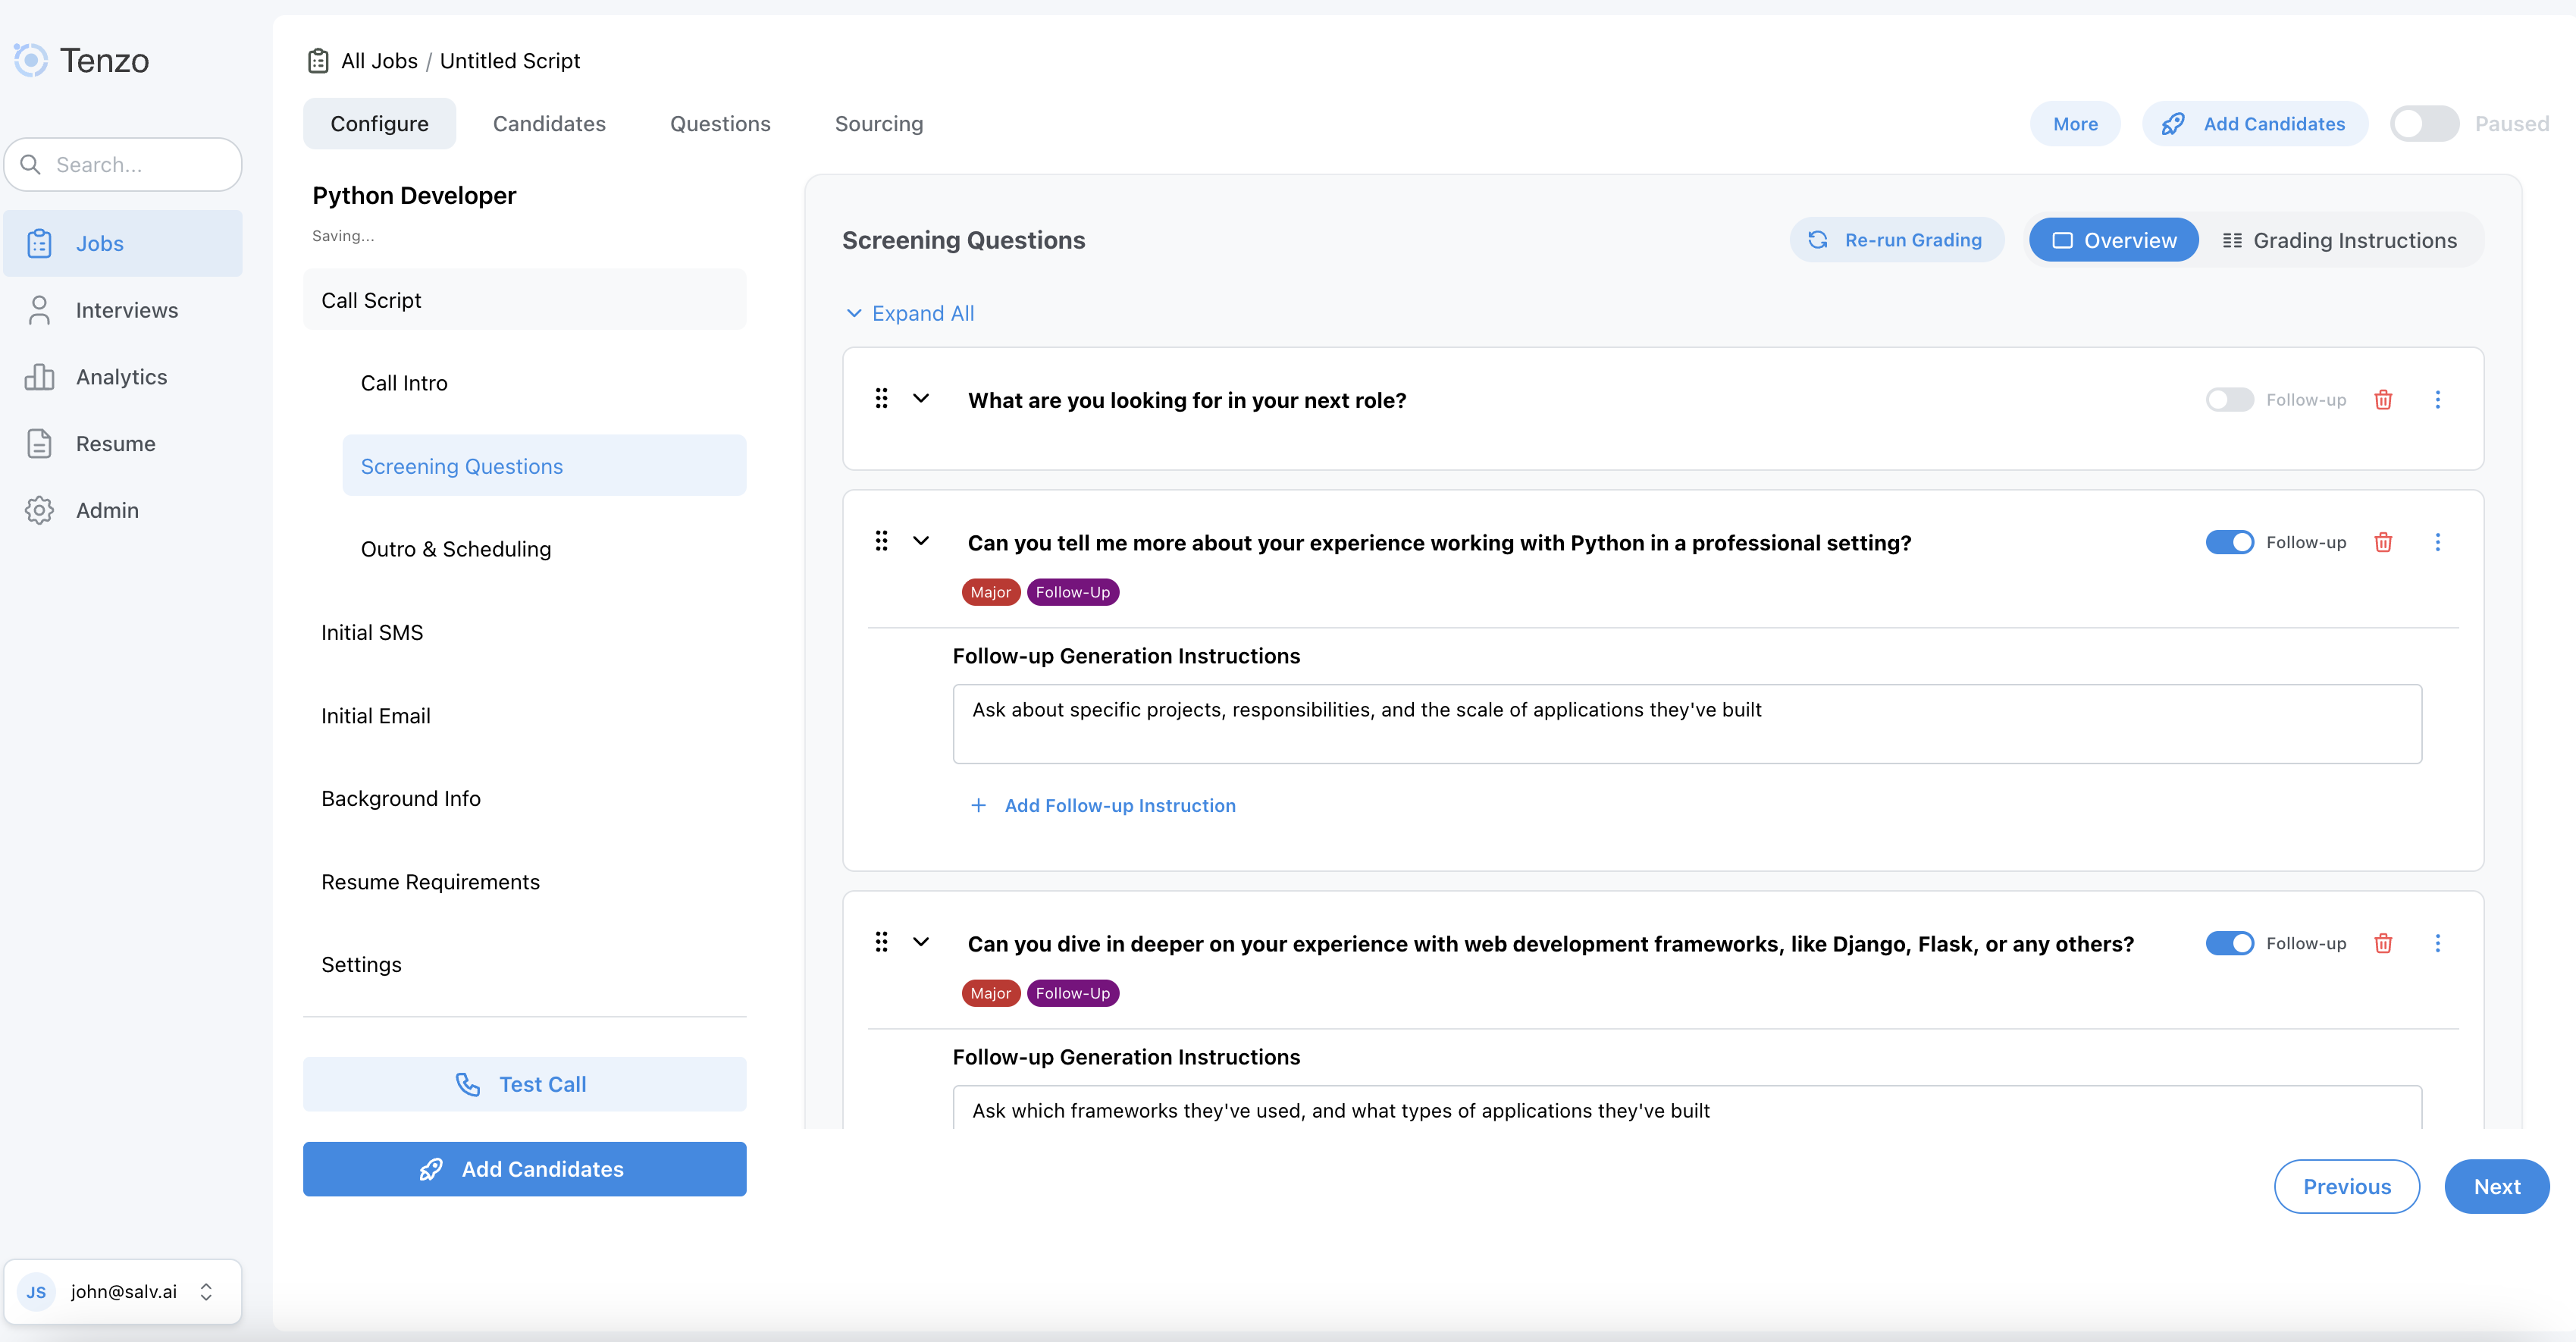
4. Review the Screening Questions
After generation completes, Tenzo will:- Automatically create the interview script, and
- Navigate you directly to the Script Editor page.
- Review the automatically generated call introduction, screening questions, and outro
- Reorder, edit, or delete questions
- Adjust the question grading instructions and any follow-up prompts
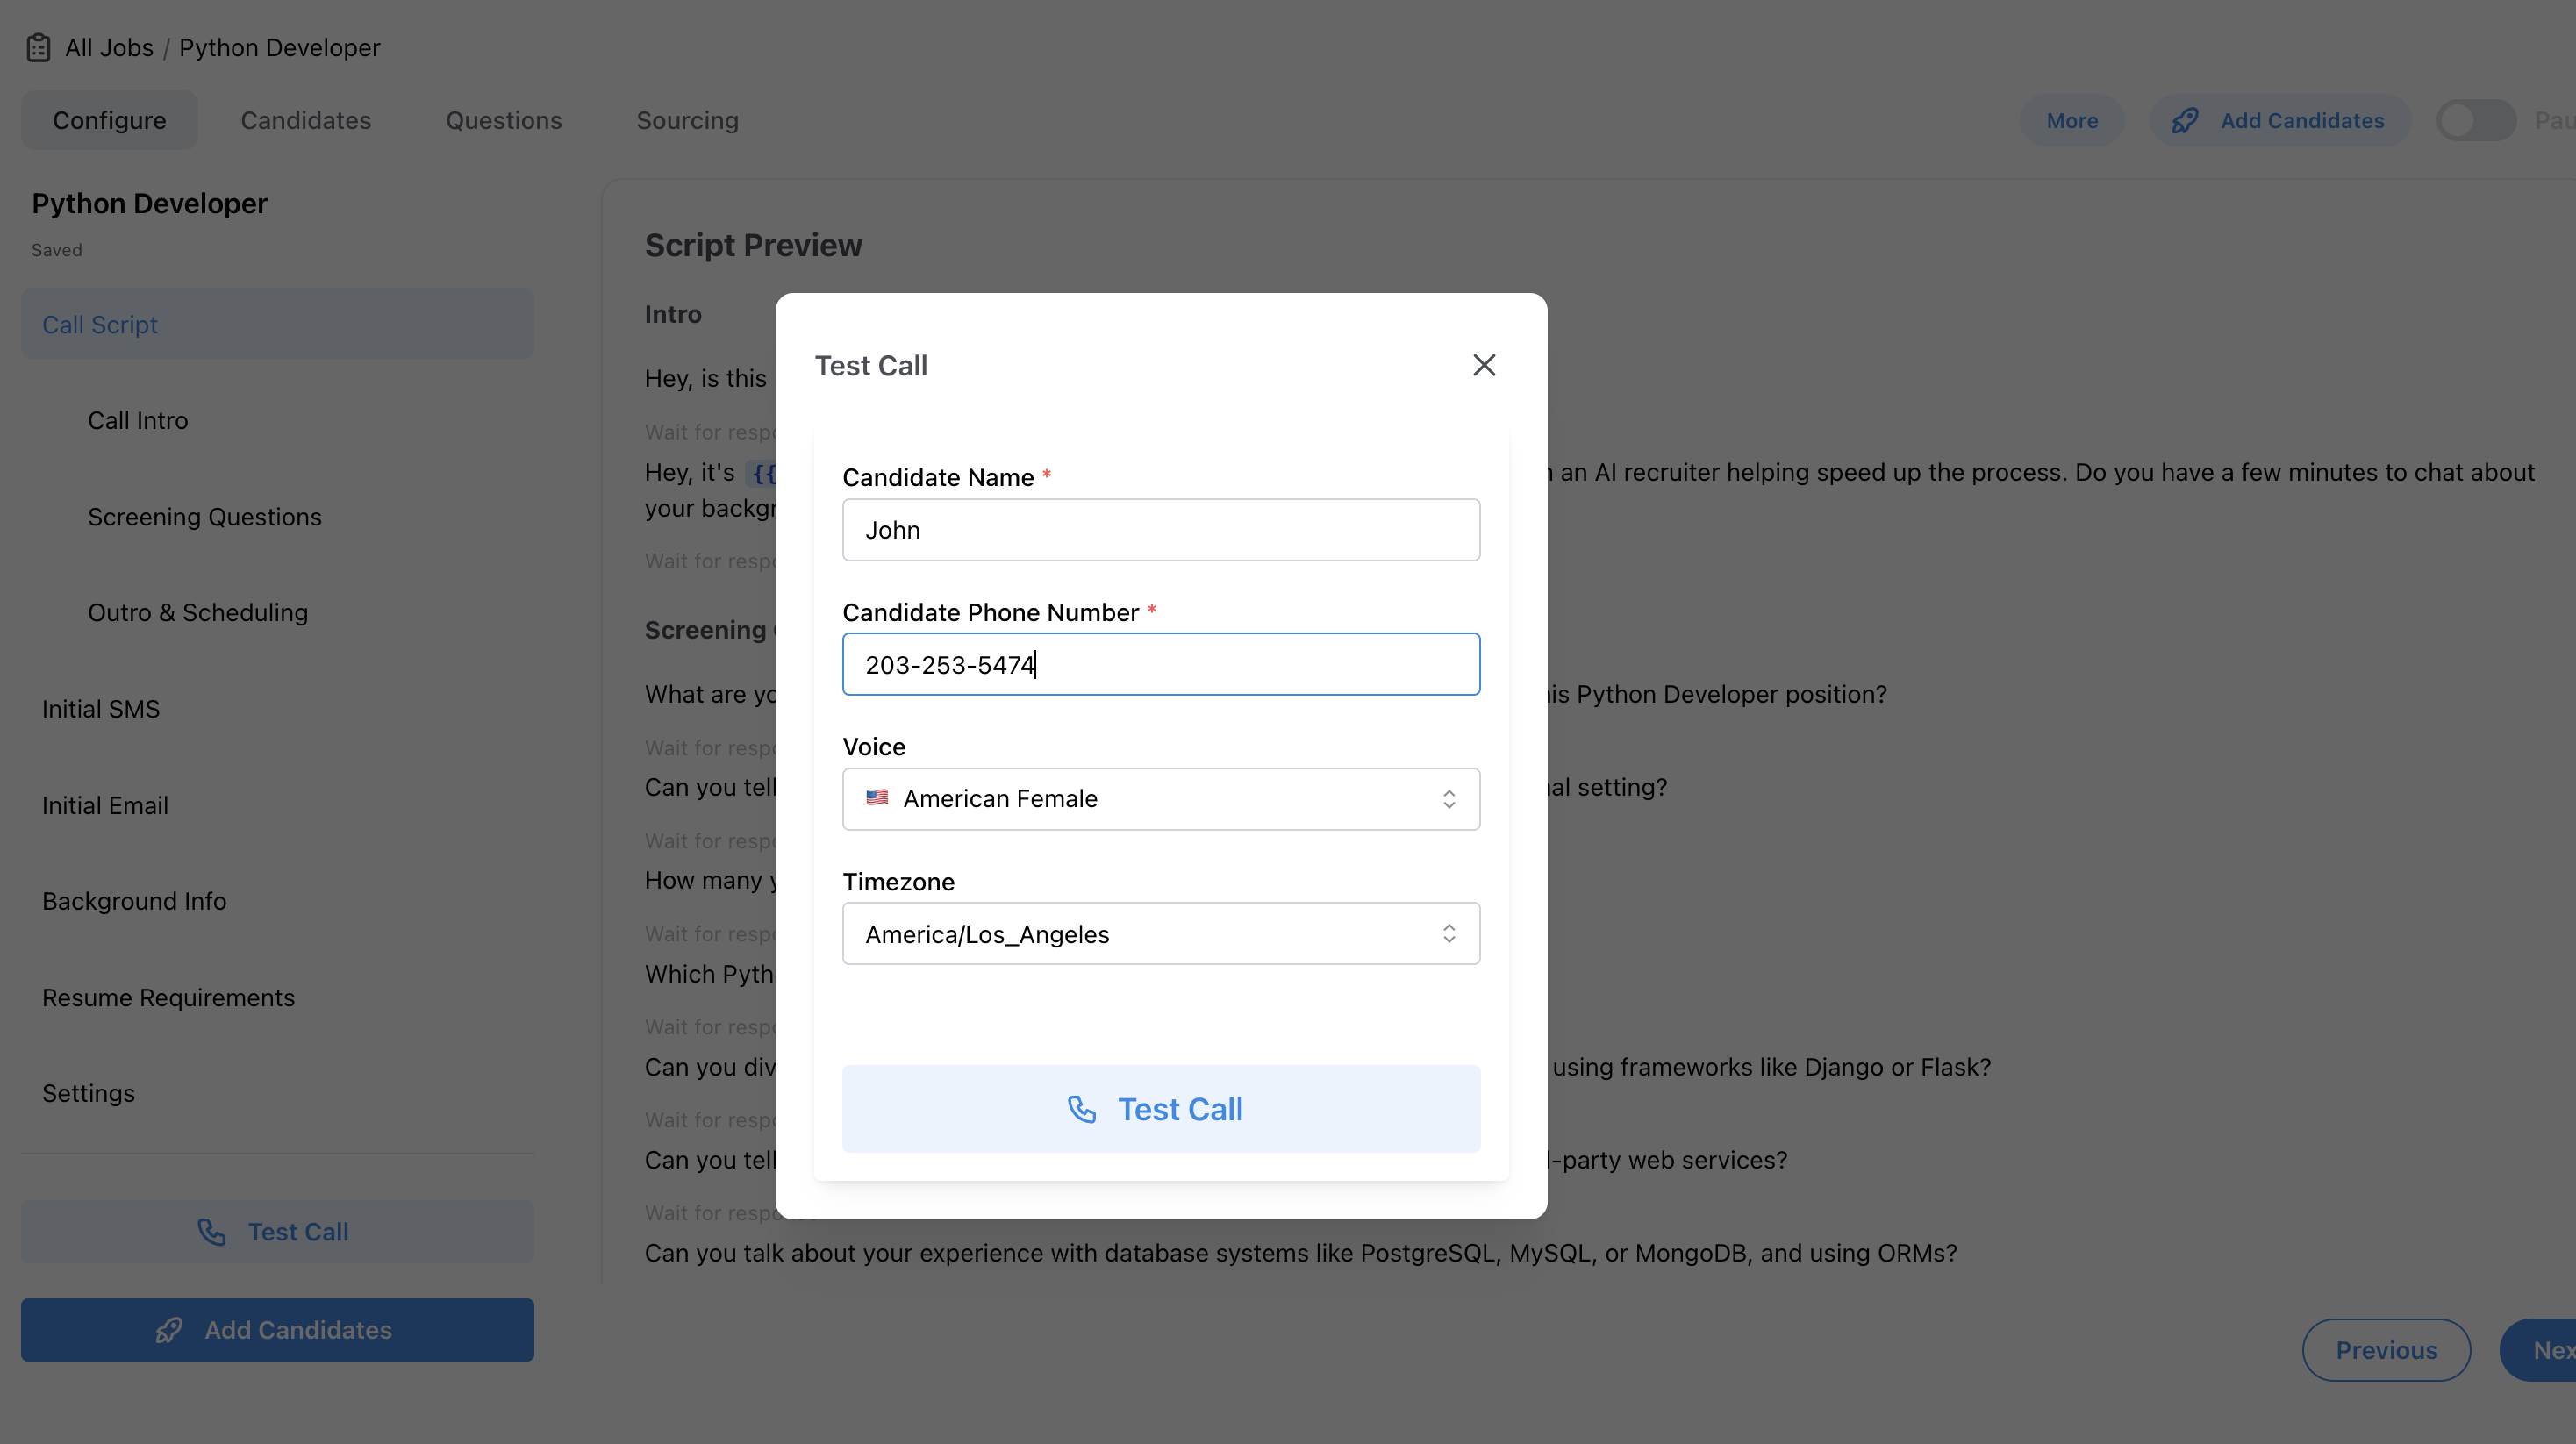
5. Run a Test Call
Once you’re satisfied with the script, you can experience the interview from a candidate’s perspective by running a Test Call:- From the script or interview configuration view, click Test Call*.
- You will then go through the interview flow as if you were a candidate, using the current version of your script.
- The clarity and pacing of your questions
- Whether the interview feels aligned with your brand and candidate experience
- The resulting question grades and how well the grading instructions are configured to reflect candidate competency
6. Adjust the Interview Settings
Once you are happy with the overall flow of the interview, you can fine-tune how the interview behaves for candidates:- Open the Settings tab for the job from the left panel on the Configure page.
- You can adjust the interview language, caller name, voice (and therefore the video interview avatar’s gender profile), company branding and more
- Note: Most of the settings which will affect a test call behavior are under the Caller Persona settings group, with the majority of the remaining settings used to customize the outreach and candidate communication sequencing.